Table of Contents
Upload Custom LMS
Users with Administrator (Role 411) and Administrator Assistant (Role 410) have the ability to upload site-specific/customized training into Residex for continued management and tracking.
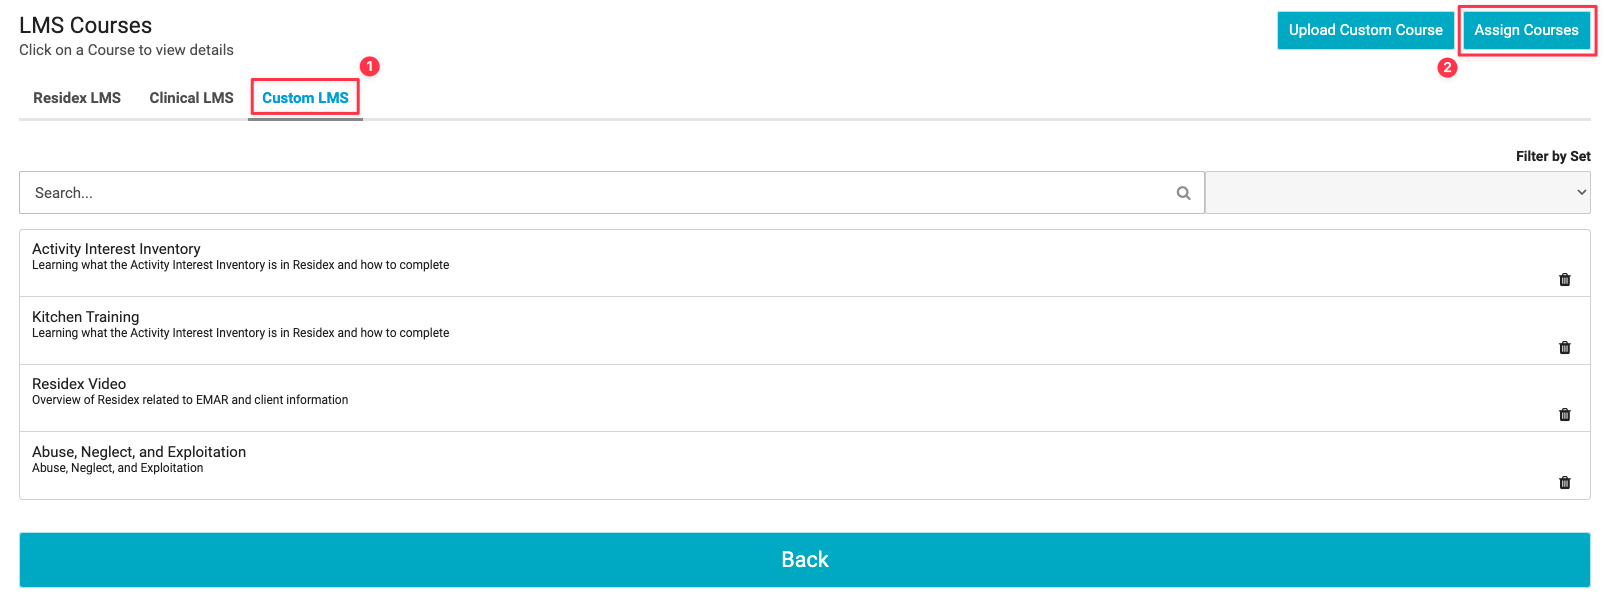
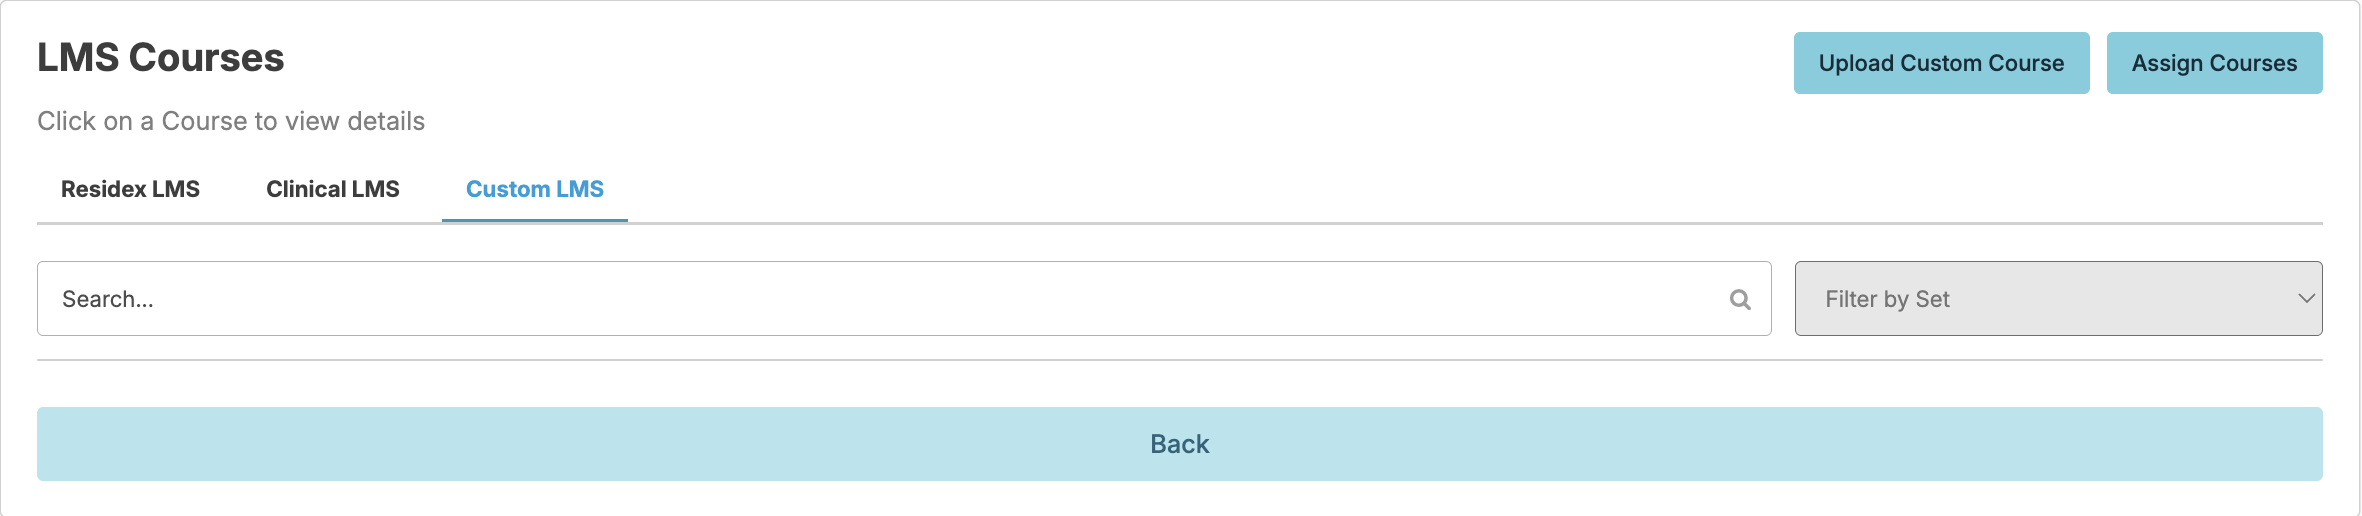
To upload a customized course, navigate to Staff > Assign LMS Courses > Custom LMS > Upload Custom Course.
Click the blue Download a sample spreadsheet and complete the spreadsheet according to the examples provided. Make sure to remove the example rows before uploading. You will need a new spreadsheet for each course you wish to upload.
Example Spreadsheet: |
|

|
|
|
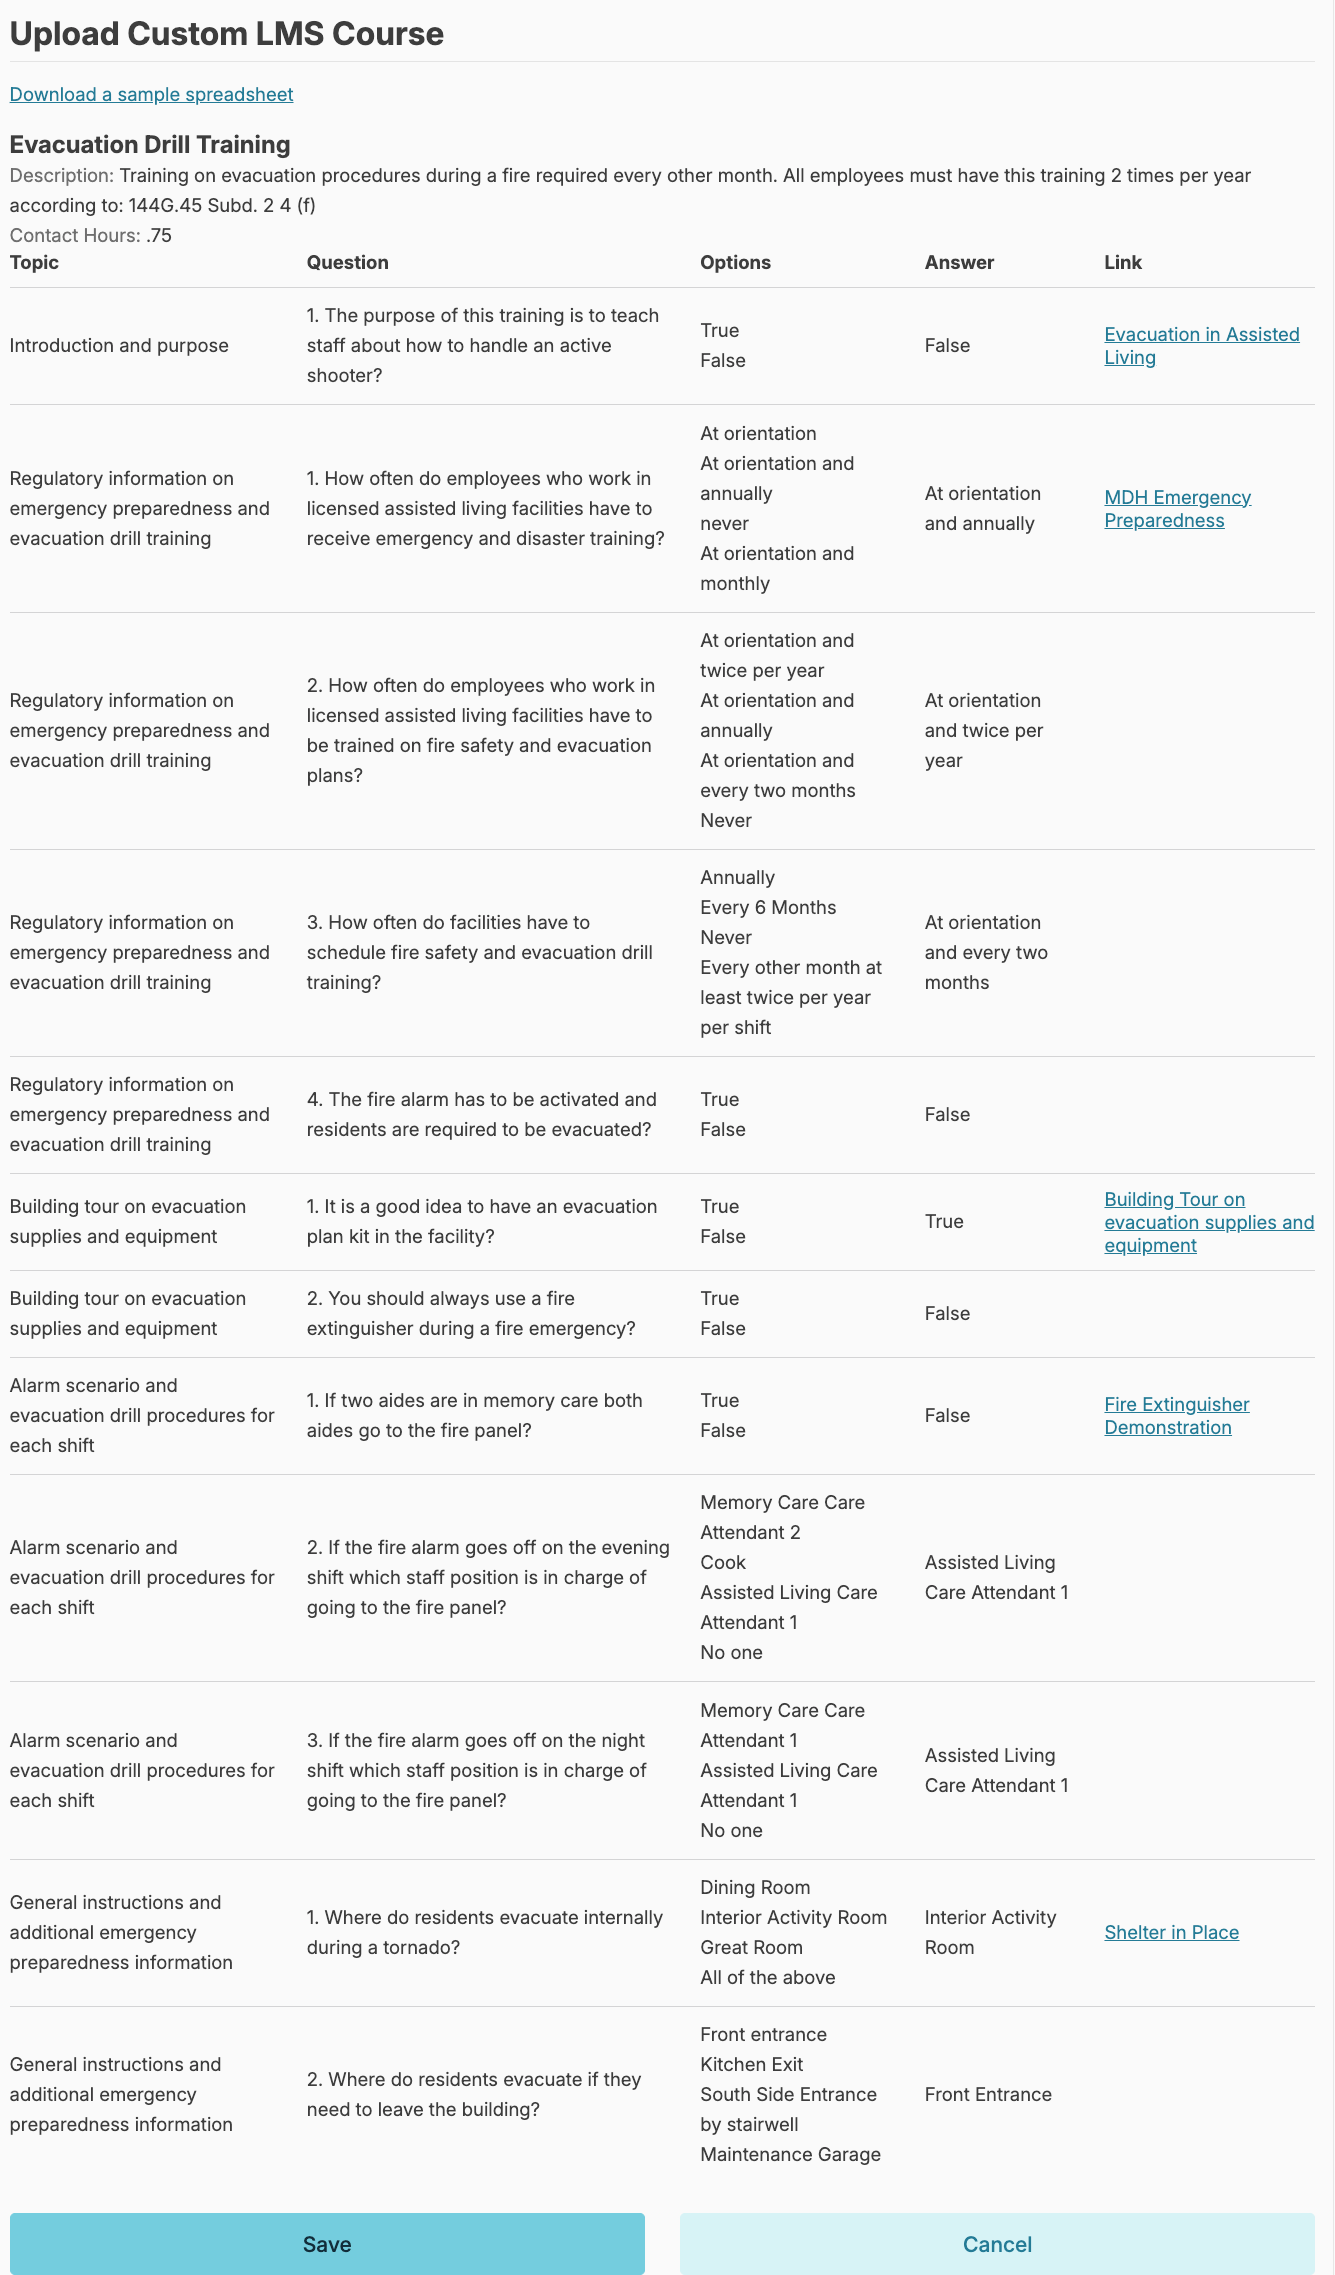
This walkthrough is developed to teach you how to create a custom LMS course that your staff can watch to help train them on information specific to your organization. This course walks you through how to fill out the report: LMS Custom Training Upload - Export. For this walkthrough we have created an example custom course on a facility procedure for Evacuation Drill Training. We will navigate through each column so you can learn how to fill out the spreadsheet correctly. Column 1 is the Course Title: This is what you want to call the course and is only required to be entered once. In our example the course is titled, “Evacuation Drill Training” 2.0Column 2 is the Course Description: This is meant to be an overview of what the course is about. In the example we created, the course description is: “Training on evacuation procedures during a fire required every other month. All employees must have this training 2 times per year according to: 144G.45 Subd. 2 4 (f)"Note: Facilities will still need to schedule evacuation training and ensure employees are trained twice per year, but this course is designed to help train staff who are unable to attend the in person evacuation drill training.
Column 3 is for Contact Hours. This is an optional field, but if you want to track the time the course is expected to take you can add contact hours and staff could potentially use this course for CEU’s depending on their license type.Column 4 is for a Topic Sequence or sentences. You can break your course into topics if you like. You could have just one topic. If you look at the example, this custom course has 5 topics. We recommend you create your topics first and then fill in the sequence. |
|
Column 5 is for the Topic or Topics. In the example we have created 5 topics:1. Introduction and purpose 2. Regulatory information on emergency preparedness and evacuation drill training 3. Building tour on evacuation supplies and equipment 4. Alarm scenario and evacuation drill procedures for each shift 5. General instructions and additional emergency preparedness information
Column 6 is for Topic Learning Objectives which is a brief description of what you want your audience to learn from each topic. In the example here are the topic learning objectives:Topic one is: Introduction and purpose: is to train staff on portions of the emergency preparedness plan, including evacuation of residents in the event of a fire. And give staff confidence that in the event there is a fire, a tornado, or other disaster that requires them to either have the residents' shelter in place or evacuate the facility, they understand what to do, and where to find the tools to help them. Topic two is: Regulatory information on emergency preparedness and evacuation drill training: The purpose of this topic is to teach staff why they are receiving this training and what regulatory requirements mandate the content of the training and the frequency. Topic 3 is: Building tour on evacuation supplies and equipment: This topic includes a building video tour to show staff where to find the emergency preparedness plan, any evacuation supplies, and where the fire pulls, and extinguishers are located. The scenario covered assumes they have to activate the fire pull. Topic 4 is: Alarm scenario and evacuation drill procedures for each shift: After watching this portion in the course, every position on all shifts will understand their responsibility during an evacuation of the building due to a fire. The scenario assumes the fire alarm has been activated. The final Topic, Topic 5 is: General instructions and additional emergency preparedness information: the goal of this topic is for staff to know where the shelter in place evacuation sites are in the building and the outdoor evacuation site location and other relevant emergency preparedness information. Column 7 is for the Topic Link Sequence - if you have a website link in your course, you need to have a sequence. You could have more than one link in a topic. In our course example, we only have one link per topic so all of the topic links are #1.Column 8 is the Topic Link Name – This is where you can put the name of the link you are includingColumn 9 is for the Topic Link or links - this is where you put the website or URL for the video. In this example we have used You Tube videos, but for building specific training, you may want to record your own video, especially if you are showing staff where things are during an evacuation for example. |
|
Column 10 is for the Question Sequence. Just like the topic sequence we recommend you complete this column after you create your questions.Column 11 is for your custom course Questions. This column is required and you need at least one question for each topic to help your audience learn the material. In our example, we have 1 question in topic 1, and 4 questions in topic 2. An example of our question for topic 2 is: How often do employees who work in licensed assisted living facilities have to receive emergency and disaster training?Column 12 is for the question Answer Options. Each answer option needs to be separated by a semicolon. The answers must be Multiple Choice, Yes;No, True;FalseAnswer options are required. In the question above our options were: At orientation; At orientation and annually; never; or At orientation and monthly
Column 13 is the Correct Answer. The answer needs to be an exact match to the Answer Option so we recommend copying and pasting from column 11. The answer is required. In our above example, the correct answer is: At orientation and annuallyColumn 14 is the Learning Objective for that question, which is the text that displays after the question is answered to reinforce learning and it is required. The example learning objective for the above question is: To train staff on the regulatory requirements for training on the emergency preparedness plan and fire evacuation training.Once done filling out all of these columns, you can go back and fill in the sequence columns which are: Topic Sequence in column 4 and Question Sequence in column 10 |
|
|
Now that you have the spreadsheet filled out, you will navigate to Staff > Assign LMS Courses > Upload Custom Course You can either browse for the excel file on your computer or drop and drag it into this area. If you have filled out the spreadsheet correctly, the course will be available for you to assign to your staff. If you get an error message, it is because you have filled out the spreadsheet incorrectly. Next, we will show you what our custom course looks like after it is completed! A custom LMS course can be a fantastic tool for you to give your staff the information and tools they need to do their job and feel confident they will be successful! |
|
Once the spreadsheet is complete, save it to your computer.
You can Browse to upload or drag and drop the file.

Upon uploading, you will have an opportunity to review the information entered.
Click Save.
Delete Custom LMS
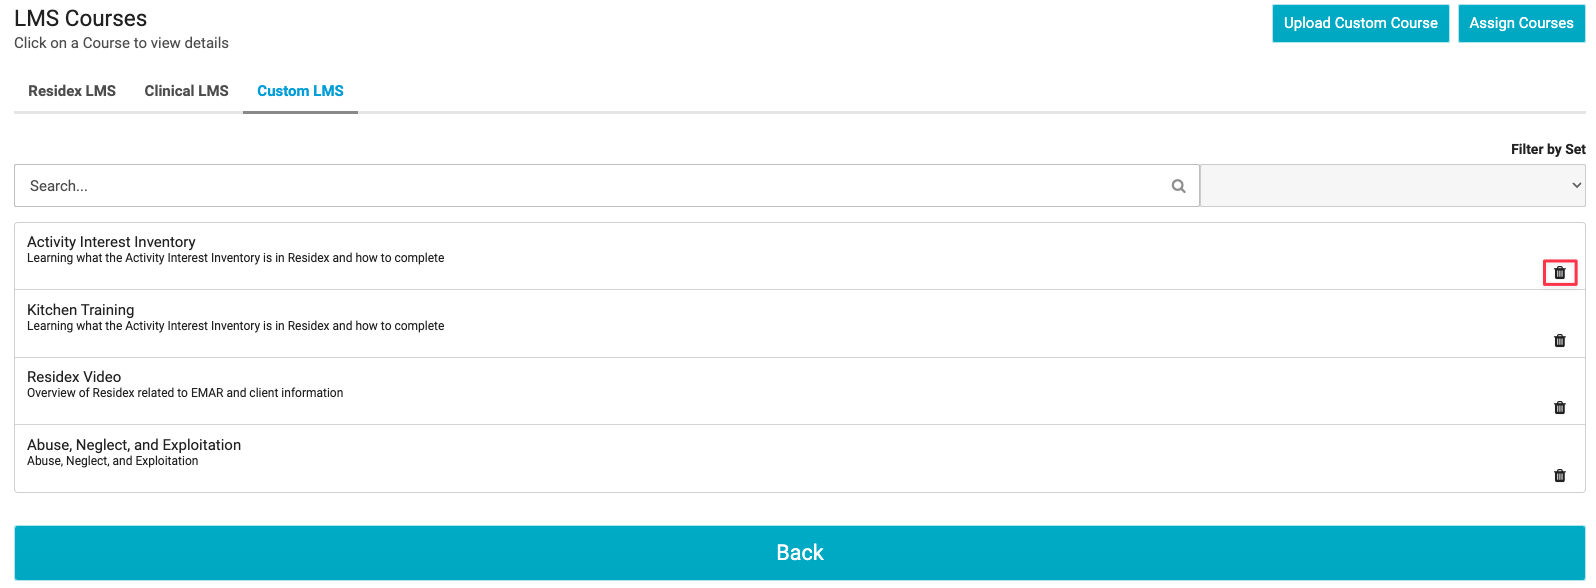
You can delete a course by navigating to Staff > Assign LMS Courses > Custom LMS > Select the trash can to the far right of the screen > Confirm you wish to no longer have this course available by selecting Delete.
Assign/Complete Custom LMS
You can assign these custom courses to your staff by navigating to Staff > Assign LMS Courses > Custom LMS > Select Assign Courses and select the course(s) and the staff you wish to assign > Select Save.